这是我参与8月更文挑战的第14天,活动详情查看:8月更文挑战
今天我们尝试使用CSS绘制一个毛玻璃效果,在学习过程中,可以了解到CSS的几个属性:
1
2
| filter: blur(模糊半径); // 元素模糊
background: hsla(色相, 饱和度, 亮度, 透明度)
|
blur
CSS中有一个blur()函数可以生成模糊效果,如下图所示:
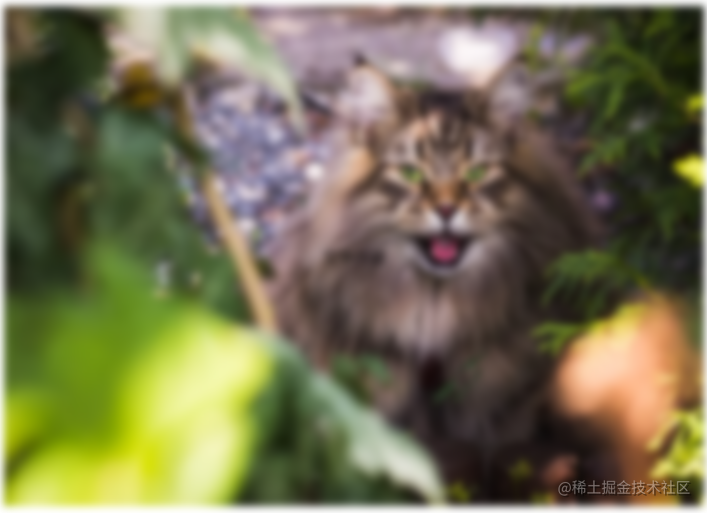
上图基本代码:
1
2
3
4
5
6
7
8
9
10
11
12
13
14
15
16
17
18
19
20
21
22
23
24
25
26
27
28
29
30
31
32
| <!DOCTYPE html>
<title>毛玻璃效果</title>
<body>
<div class="background-box">
<div class="txt-box">
文字内容
</div>
</div>
</body>
<style>
.background-box {
width: 700px;
height: 500px;
background: url('https://cdn.pixabay.com/photo/2021/07/14/09/14/siberian-cat-6465485_960_720.jpg') no-repeat;
background-size: 100% 100%;
display: flex;
flex-direction: row;
align-items: center;
justify-content: center;
filter: blur(4px);
}
</style>
</html>
|
blur函数官方释义:https://developer.mozilla.org/zh-CN/docs/Web/CSS/filter-function/blur()
但是blur会使得整个元素都变得模糊,无法生成我们想要的毛玻璃效果。
使用半透明背景
最基本最简单的方式,使用半透明背景,如下图所示:
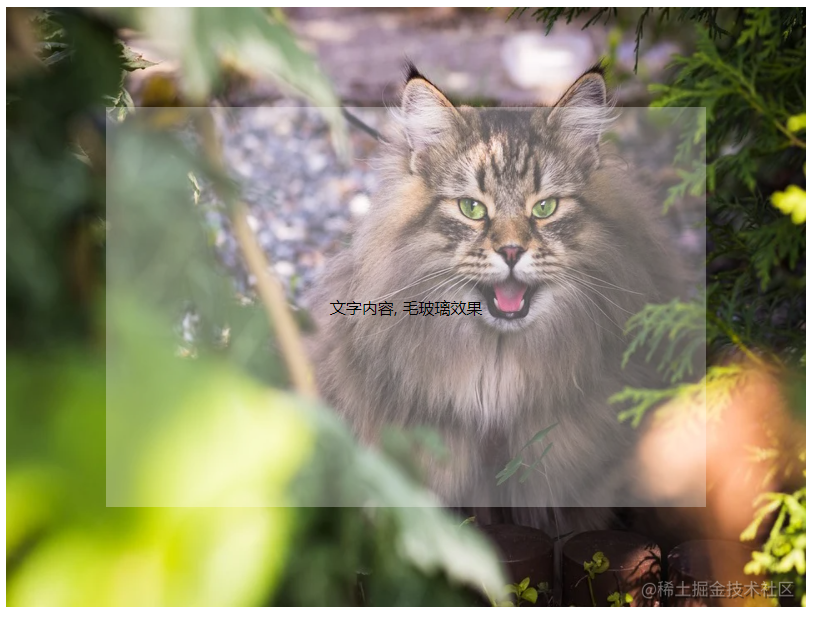
基础代码:
1
2
3
4
5
6
7
8
9
10
11
12
13
14
15
16
17
18
19
20
21
22
23
24
25
26
27
28
29
30
31
32
33
34
35
| <!DOCTYPE html>
<title>毛玻璃效果</title>
<body>
<div class="background-box">
<div class="txt-box">
文字内容, 毛玻璃效果
</div>
</div>
</body>
<style>
.background-box {
width: 800px;
height: 600px;
background: url("https://cdn.pixabay.com/photo/2021/07/14/09/14/siberian-cat-6465485_960_720.jpg") no-repeat;
background-size: 100% 100%;
display: flex;
flex-direction: row;
align-items: center;
justify-content: center;
}
.txt-box {
width: 600px;
height: 400px;
background: hsla(0,0%,100%,.3);
display: flex;
flex-direction: row;
align-items: center;
justify-content: center;
}
</style>
</html>
|
通过调整半透明颜色调整透明度,动画效果如下所示:
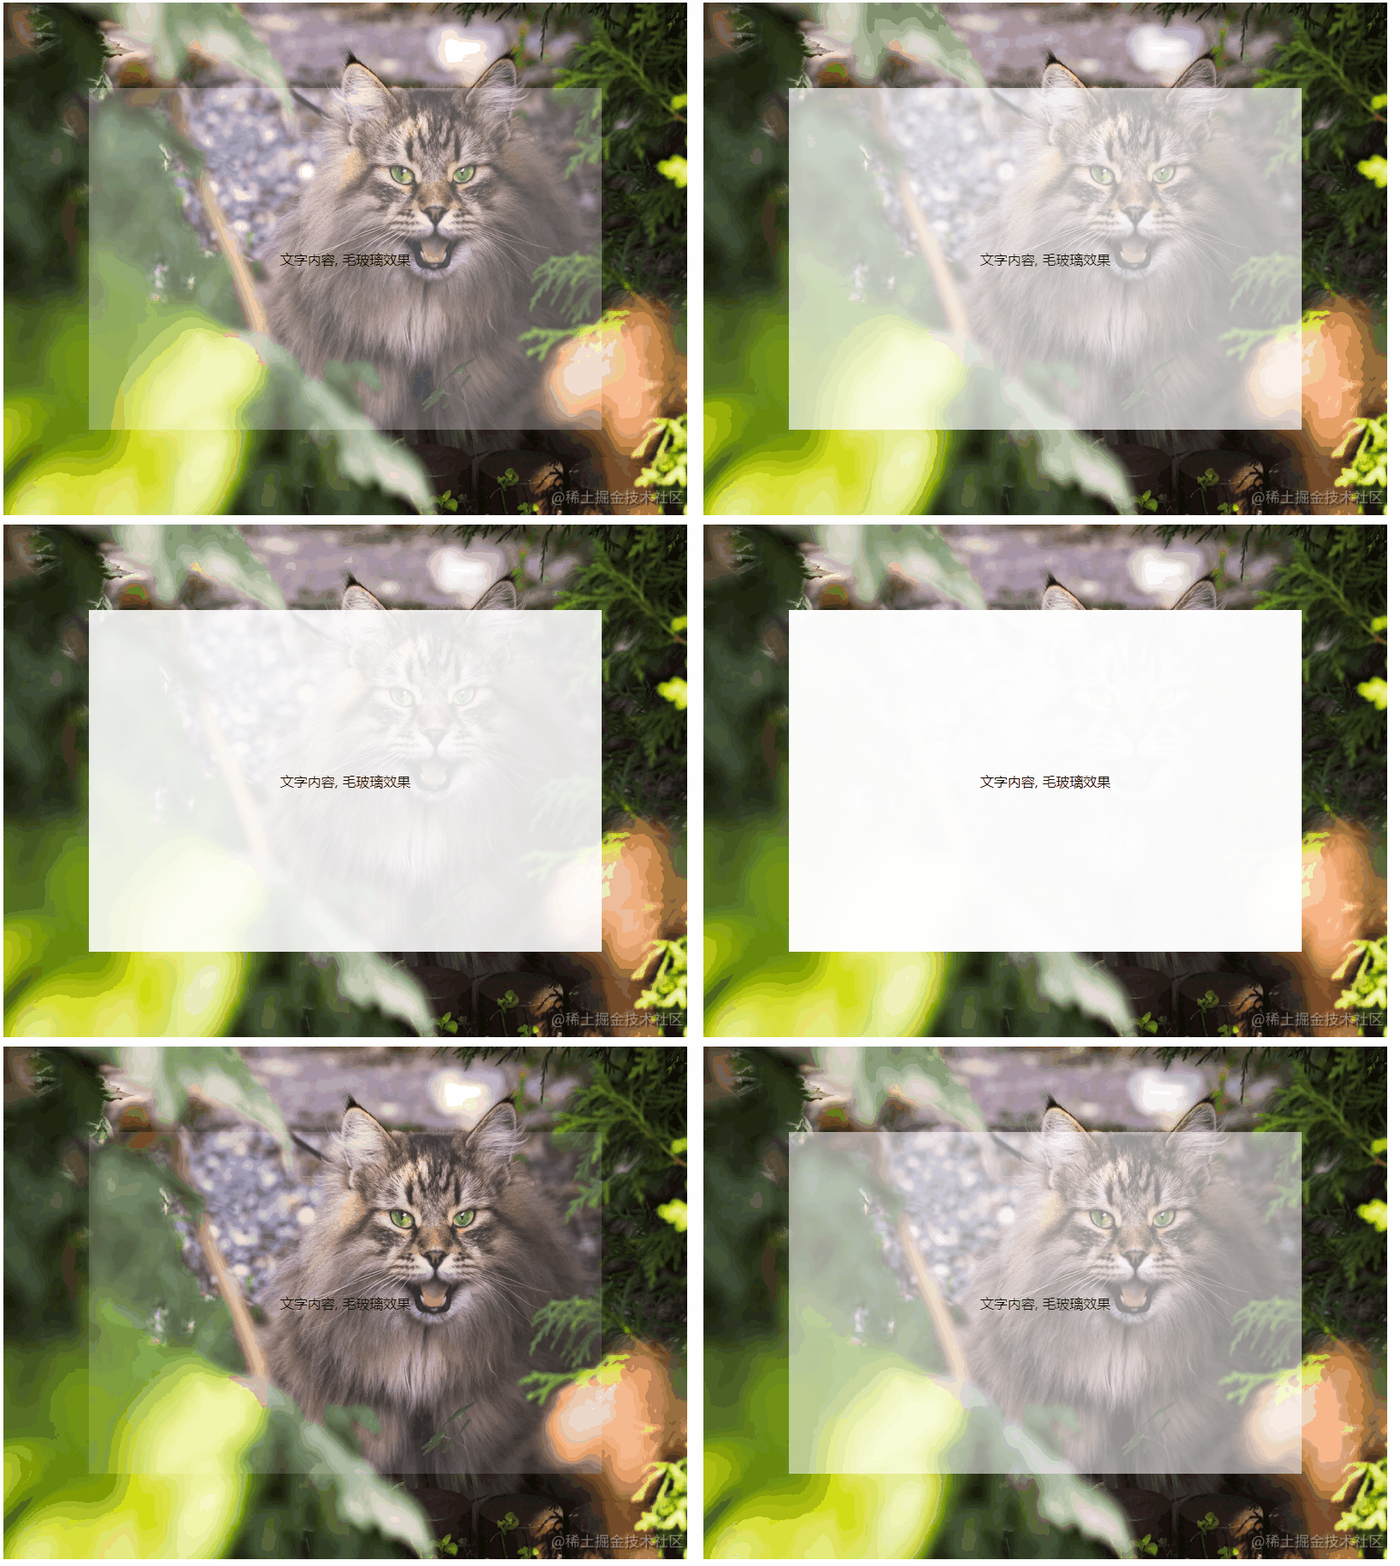
但是这种效果并不理想,透明度高的时候文字不易阅读,透明度太低视觉效果不好。
半透明
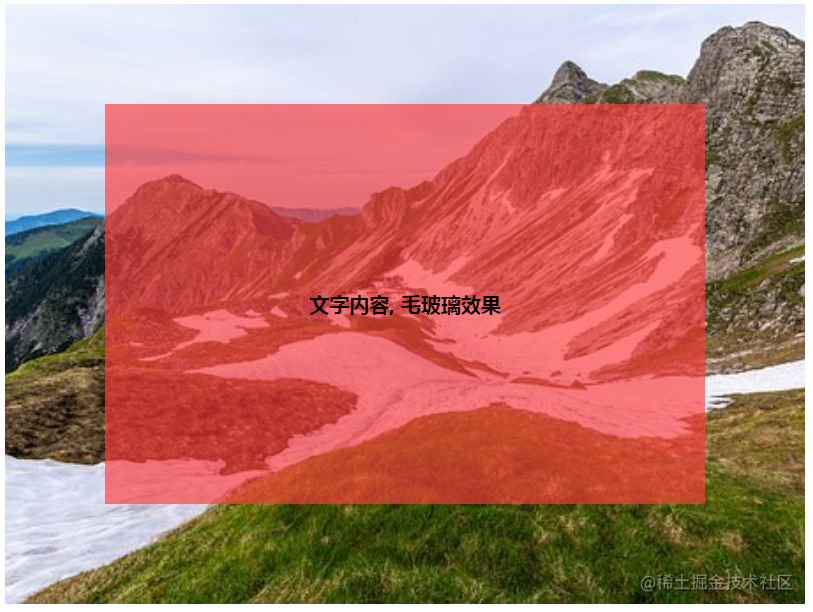
我们使用伪元素在原文字区域下方生成一个同样大小的半透明区域背景,来看下效果:
1
2
3
4
5
6
7
8
9
10
| .txt-box::before {
z-index: -1;
content: '';
position: absolute;
top: 0;
right: 0;
bottom: 0;
left: 0;
background: rgba(255, 0, 0, .5);
}
|
然后我们将外层的背景图片加载到伪元素上:(为了便于区分,我们给伪元素添加了一层边框)
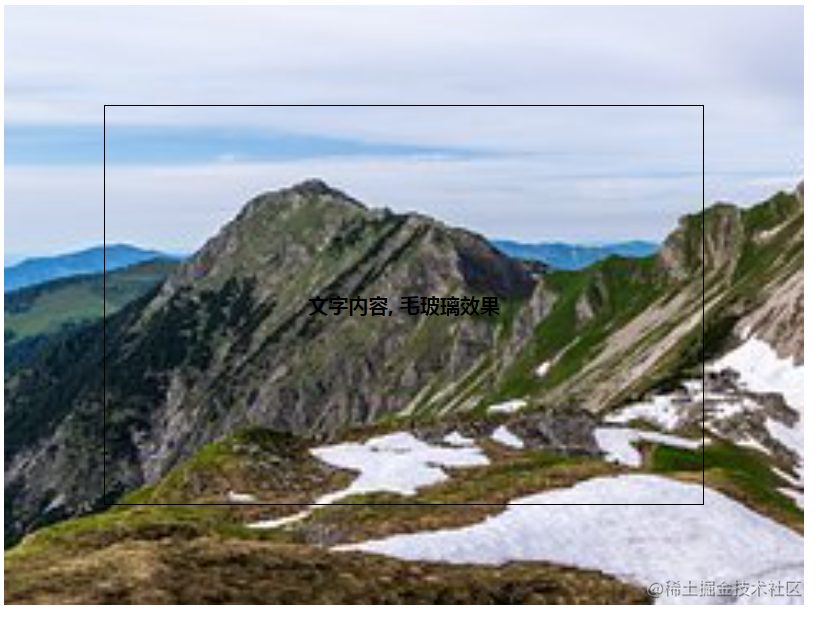
然后我们对伪元素添加模糊效果:
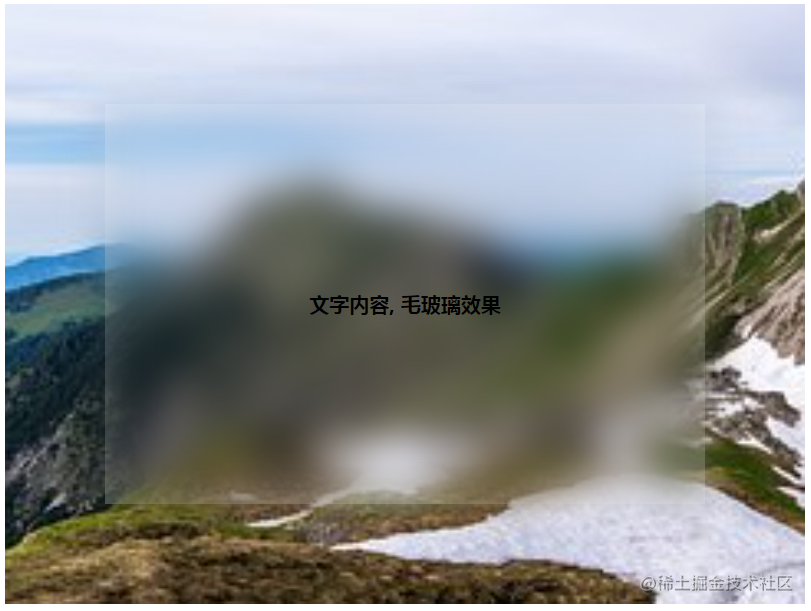
实际上,这时已经是非常好的毛玻璃效果了。
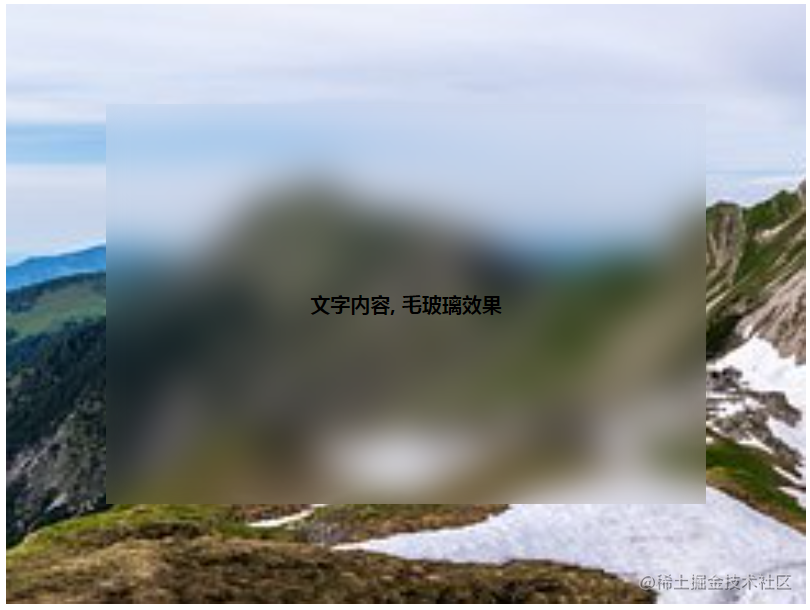
通过学习《CSS Secret》书籍,其中阐述到这种效果,作者仍然不满意毛玻璃的边框区域,仍然有改进空间。
后续通过margin: -30px扩大伪元素模糊范围,以及文字元素overflow: hidden切割超出部分,从而实现完美的毛玻璃效果,如下所示。
在学习过程中遇到一个新的属性:background-attachment,官方链接:(https://developer.mozilla.org/zh-CN/docs/Web/CSS/background-attachment)
background-attachment CSS 属性决定背景图像的位置是在视口内固定,或者随着包含它的区块滚动。
可取值:fixed, scroll, local
总结
当背景图不适合background-attachment: fixed时,需要使用简单的给文本元素添加透明度即可,虽然不完美。
当背景图可以使用background-attachment: fixed,此时可以使用比较复杂的方法:
1
2
3
4
| 1. 在文字与背景之间,添加一层元素(伪元素或者DOM元素)
2. 该层元素与文字元素大小相同,且其背景与最外层背景完全重合。
3. 对该层背景设置filter: blur(*)模糊效果
4. 通过模糊层元素外边距与文字元素的`overflow: hidden`生成边界清晰的毛玻璃边界
|